Degoogled Phone – CalyxOS
Last updated: March 2022. For intermediate users. Some tech skills required.
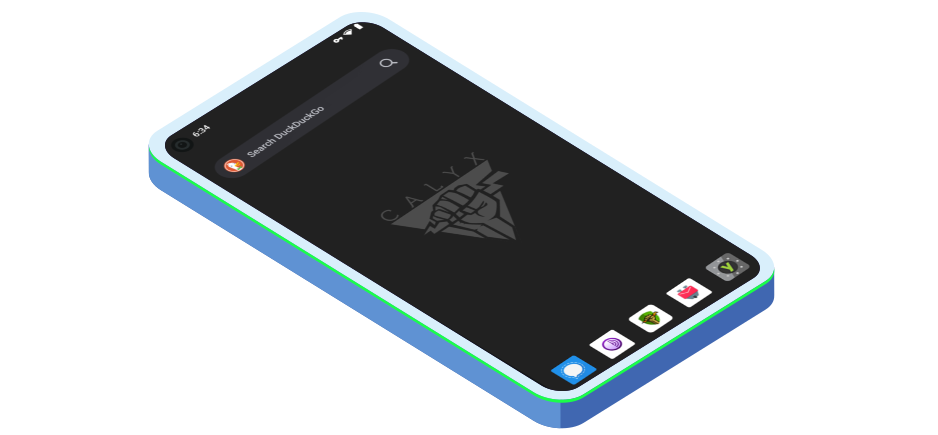
Like LineageOS, CalyxOS is a privacy focused Android mobile operating system, without Google's Play Services. CalyxOS features end-to-end encrypted communication, private browsing with Tor and DuckDuckGo, verified boot, and more. The use of microG, a free software clone of some of Google’s proprietary core libraries and applications, is optional.
CalyxOS is currently available to the Pixel phone line as well as the Xiaomi Mi A2. If you own one of these phones, make sure your exact handset model is featured in CalyxOS's device list. Also make sure your phone allows to (temporarily) unlock the bootloader. In the US, the bootloader of some phones can't be unlocked, which means that CalyxOS can't be installed (for example for the Verizon Pixel 5, Verizon Pixel 5a or Verizon Pixel 4a).
Some words on compatibility and security
Please be careful when flashing CalyxOS on your device. It will void your phone's warranty and may even render it useless, if not done properly. You are the sole one to assume risks of any damages or data loss that may occur.
Before switching to CalyxOS, keep in mind that while almost everything works just fine, some apps don't play nice. Including a few apps from Google, such as Android Wear, Google Fit, Google Cast or Android Auto. Fortunately, there are great FOSS alternatives available. Finally, mind that using paid apps without Google's Play Store can be a little tricky.
Notice also that CalyxOS has fallen behind on security updates in the past, we recommend to regularly check for updates. For certain phones, like the Xiaomi Mi A2 Lite or the Pixels 2 and 2 XL, proprietary components such as bootloader or firmware are no longer updated. Finally, there have also been reports of possible security flaws, such as leaks in the Datura firewall (e.g. mobile data leaks when the WiFi connection disconnects or DNS leaks with Private DNS enabled and VPN off). Assess these potential security risks in light of your threat modeling.

Backup your phone
All data will be erased from your device during the CalyxOS installation process. Don't take any chances, read on here how to back up your phone!

Flash CalyxOS & enable USB debugging
CalyxOS Firmware
Log into your computer and download the CalyxOS firmware for your device. Make sure to look for your exact handset model and download the corresponding .zip file to your computer. It should be called something like XXX-factory-2021.XX.XX.XX.zip.
CalyxOS Flasher
To transfer — or flash — the CalyxOS firmware onto your phone, a so-called device flasher is required. More detailed instructions below.
Show me the step-by-step guide for Windows
Download the latest version of the device flasher for Windows to your computer. The file should be named something like device-flasher.exe. Also download and install Google's USB drivers. Here the instructions for Windows 10:
| Steps | Description |
|---|---|
| 1 | Connect the Android device to the computer via USB. |
| 2 | From Windows Explorer, open Computer Management. |
| 3 | In the Computer Management's left pane, select Device Manager. |
| 4 | In the Device Manager's right pane, locate and expand Portable Devices or Other Devices. |
| 5 | Right-click the name of your device and select Update Driver Software. |
| 6 | In the Hardware Update wizard, select Browse my computer for driver software and click Next. |
| 7 | Click Browse and locate the Google USB driver folder. It should be located in android_sdk\extras\google\usb_driver\. |
| 8 | Click Next to install the driver. |
Show me the step-by-step guide for macOS
Download the latest version of the device flasher for macOS to your computer. The file should be named something like device-flasher.darwin.
Show me the step-by-step guide for Linux (Ubuntu)
Download the latest version of the device flasher for Linux to your computer. The file should be named something like device-flasher.linux.
How to enable USB debugging & OEM Unlocking
As stated before, the Pixel's bootloader must be "unlockable". In other words, you need to be able to activate the OEM unlocking function of your phone. More detailed instructions below.
Show me the step-by-step guide
| Steps | Description |
|---|---|
| 1 | Remove your SIM card and connect to a WiFi network. |
| 2 | Open Settings ► About phone. |
| 3 | Tap seven times on Build number to enable the developer options. |
| 4 | Open Settings ► System ► Advanced settings ► Developer options. |
| 5 | Scroll down, and check the Android USB debugging or USB debugging boxes. |
| 6 | Is OEM Unlocking greyed out? Enable OEM Unlocking in the Developer options menu. |
| 7 | Turn off your phone. Reboot the phone into the so-called bootloader or fastboot mode by powering it off, and then holding down both Volume DOWN and POWER buttons. Release them once the word FASTBOOT appears on the screen. |
| 8 | Plug your Android device into the computer. |
| 9 | Change the USB mode to file transfer (MTP). |

How to install CalyxOS
Show me the step-by-step guide for Windows
| Instructions | Description |
|---|---|
| Prepare the files | On your computer, place the previously downloaded CalyxOS firmware file XXX-factory-2021.XX.XX.XX.zip as well as the device-flasher.exe file in the same folder. |
| Run the flasher | Double-click the flasher to run it, and follow the on-screen instructions as detailed below. Alternatively, open a command prompt in the directory, run the flasher with the command .\device-flasher.exe and follow the on-screen instructions as detailed below. |
| Unlock bootloader | Use the volume and power keys to select Unlock the bootloader. |
| Wait while flashing | Wait while your phone is being flashed, this can take some time. The device will reboot multiple times and show several screens. Be patient and do not unplug the phone during the process! |
| Lock the bootloader | Once the on-screen instructions prompt you to, use the volume and power keys to select Lock the bootloader. |
| Wait while booting | Wait until the on-screen instructions confirm that flashing is complete. The phone should reboot. The first start can take a while. |
| Congrats! | CalyxOS is installed on your phone! Don't forget to disable OEM Unlocking in the Developer options menu. |
Show me the step-by-step guide for macOS
| Instructions | Description |
|---|---|
| Prepare the files | On your computer, place the previously downloaded CalyxOS firmware file XXX-factory-2021.XX.XX.XX.zip as well as the device-flasher.darwin file in the same folder. |
| Run the flasher | Double-click the flasher to run it, and follow the on-screen instructions as detailed below. Alternatively, open a terminal in the directory, run the flasher with the command chmod +x ./device-flasher.darwin; ./device-flasher.darwin and follow the on-screen instructions as detailed below. Note: you may have to disable macOS's Gatekeeper for the installation to run properly. |
| Unlock bootloader | Use the volume and power keys to select Unlock the bootloader. |
| Wait while flashing | Wait while your phone is being flashed, this can take some time. The device will reboot multiple times and show several screens. Be patient and do not unplug the phone during the process! |
| Lock the bootloader | Once the on-screen instructions prompt you to, use the volume and power keys to select Lock the bootloader. |
| Wait while booting | Wait until the on-screen instructions confirm that flashing is complete. The phone should reboot. The first start can take a while. |
| Congrats! | CalyxOS is installed on your phone! Don't forget to disable OEM Unlocking in the Developer options menu. |
Show me the step-by-step guide for Linux (Ubuntu)
| Instructions | Description |
|---|---|
| Prepare the files | On your computer, place the previously downloaded CalyxOS firmware file XXX-factory-2021.XX.XX.XX.zip as well as the device-flasher.linux file in the same folder. |
| Run the flasher | Double-click the flasher to run it, and follow the on-screen instructions as detailed below. Alternatively, open a terminal in the directory, run the flasher with the command sudo chmod +x ./device-flasher.linux; sudo ./device-flasher.linux and follow the on-screen instructions as detailed below. |
| Unlock bootloader | Use the volume and power keys to select Unlock the bootloader. |
| Wait while flashing | Wait while your phone is being flashed, this can take some time. The device will reboot multiple times and show several screens. Be patient and do not unplug the phone during the process! |
| Lock the bootloader | Once the on-screen instructions prompt you to, use the volume and power keys to select Lock the bootloader. |
| Wait while booting | Wait until the on-screen instructions confirm that flashing is complete. The phone should reboot. The first start can take a while. |
| Congrats! | CalyxOS is installed on your phone! Don't forget to disable OEM Unlocking in the Developer options menu. |

Micro G vs Google Services Framework
What is microG? microG is a free clone of some of Google’s proprietary core libraries and applications. By enabling microG, you can continue using features like push notifications or location without relying on the data-hungry Google Services Framework (GSF). Many GSF dependent apps can be used this way with CalyxOS. Note however that they're still able to contact Goolag's services. To further limit data leaks, we recommend to favour GSF independent, free and open source apps whenever possible.
By default, CalyxOS is configured to use location information from Mozilla. If instead you want to use a local database with cell tower information and be completely independent from third party providers, follow the instructions detailed below.
Show me the step-by-step guide
| Steps | Description |
|---|---|
| 1 | Open F-droid and install an app called Local GSM location. |
| 2 | Head over to the microG settings app. Navigate to Location modules and enable GSM Location Service as well as Nominatim. |
| 3 | Navigate to Self-Check and verify whether everything is set up properly. |
CalyxOS avoids using Google's services as much as possible. There's one exception: many apps rely on Google Cloud Messaging (GCM), a proprietary system developed by Google, to push notifications to your device. microG can provide access to push notifications by enabling (limited) use of the GCM service. More details below.
Show me the step-by-step guide
| Steps | Description |
|---|---|
| 1 | Open the microG settings app. |
| 2 | Navigate to Google device registration and register your device. |
| 3 | Navigate to Google Cloud Messaging and activate push notifications. |
How can I trust CalyxOS if it uses Google Cloud Messaging?
Registering your device and enabling push notifications is optional. Doing so might provide limited data to Google, such as a unique ID. microG however makes sure to strip away as much identifying bits as possible. Activating push notifications can also enable Google to (partly) read the content of your notifications, depending on how apps use Google Cloud Messaging.
F-Droid is an app store exclusively hosting free and open-source applications, as develop in a previous chapter on FOSS apps. Make sure to enable microG's repository in F-Droid, as detailed below.
Show me the step-by-step guide
| Steps | Description |
|---|---|
| 1 | Launch F-Droid. |
| 2 | Navigate to Settings ► Repositories. |
| 3 | Enable the microG repository. |
Installing paid apps without Google's Play Store can be a little tricky. Here a workaround:
Show me the step-by-step guide
| Steps | Description |
|---|---|
| 1 | Browse to Google's online play store. |
| 2 | Buy apps with an old or disposable Google account. |
| 3 | Log into Aurora store with the same Google credentials. |
| 4 | Download the purchased apps. |

Support
For further details or questions, refer to CalyxOS's documentation or ask CalyxOS's community for help.